
Change SharePoint Migration Tool Temporary Storage Directory
Introduction
When setting up an Azure network and migration your local data to a SharePoint site, often times you will use the SharePoint migration tool. The SharePoint migration tool compresses your data and saves it to a temporary directory on your C:/ Drive. This can be problematic if you are moving a large volume of data to SharePoint but only have a limited amount of space available on your C:\ Drive. A very simple way to fix this is to just create a symbolic folder link where the SharePoint Migration Tools stores the data to a drive that has more space. This can even be an external drive.
Symbolic Link Setup
D:\. The location I will tell SharePoint Migration Tool to use will be D:\000SharePointToolStorage\Step 1) Before we make any of these changes, we need to stop the SharePoint Migration Tool service. This will allow us to make changes necessary to move the temp directory.
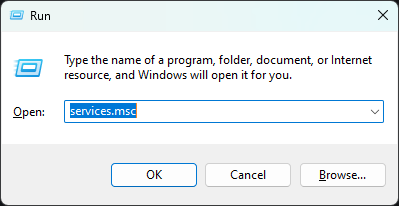
Press the WIN + R keys to open the Run window. Type services.msc and press ENTER.
Once the Services window opens you will need to search for SharePoint Migration Service.
Step 2) Right click on SharePoint Migration Service and click Stop.
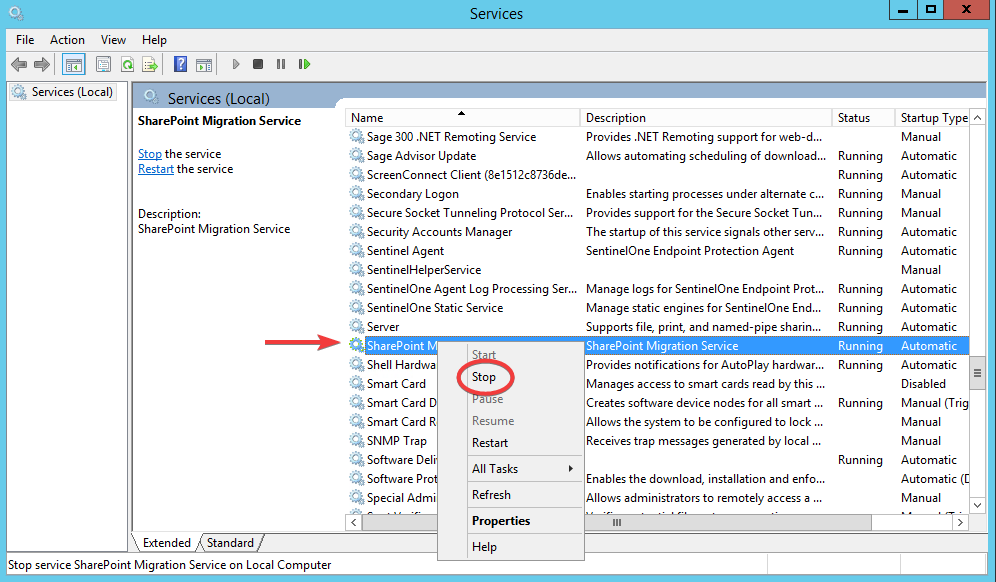
Now that the service is no longer running we can now make our changes. Keep this window up as we will need to come back to this to start it back up!
Step 3) Open CMD as an elevated user. "Run as Administrator". Once CMD has been opened let's make the folder on the larger drive for the temp data storage.
mkdir D:\000SharePointToolStorageStep 4) Next we are going to CD into the SharePoint Migration Tool storage directory.
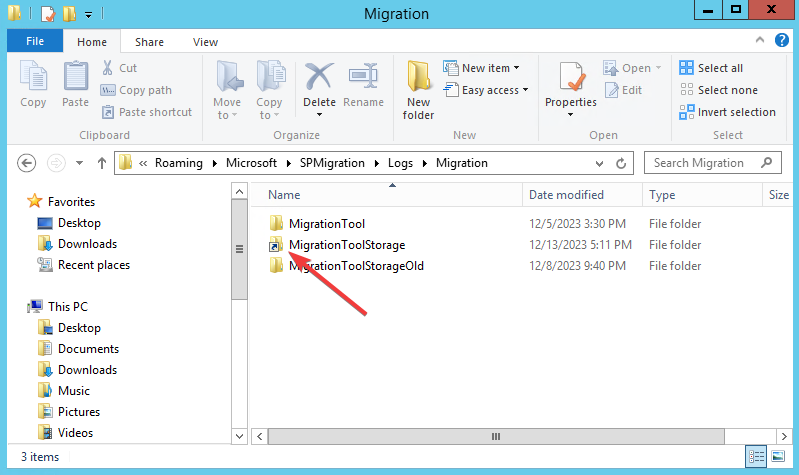
cd C:\Users\%username%\AppData\Roaming\Microsoft\SPMigration\Logs\MigrationStep 5) Let's rename the old directory so it does not get used any longer.
rename MigrationToolStorage MigrationToolStorageOldMigrationToolStorageOld to free up the used space, but while setting this up, it's not a bad idea to keep it around. Step 6) We now can make our symbolic linked folder.
mklink /D MigrationToolStorage D:\000MigrationToolStorageYou can check that the symbolic linked folder was created by navigation to the directory in explorer and looking for the special folder icon.
Conclusion
With a special Symbolic folder created like this, it will trick the SharePoint Migration Tool into saving it's temp data in a location that actually has enough storage for all the compressed data it is sending to SharePoint. I wish that the setup of an agent would allow you to manually set this. For now this works!
Thanks for Reading!
Max Kulik
Sources
- Post by David on Sulli.blog
- Post by SPJeff
- Microsoft docs reports the working folder but no way to change it.