
Build Your Own CDN with Backblaze and Cloudflare

Introduction
When building this site and moving away from my old static HTML portfolio, I wanted to have a way to manage all of my content and allow for any of my websites or services to pull from the same location. I also wanted a way to pull it from an external location to allow my content to be served faster to more clients. I also needed this option to be affordable since this is a home lab.
Backblase for Storage
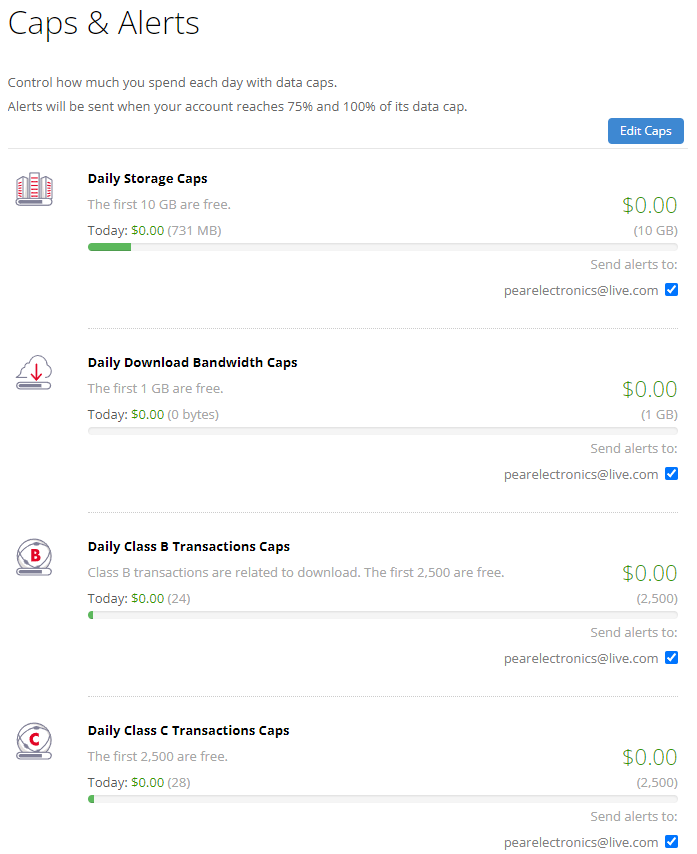
After doing my research and weighing my options I made my choice. Backblaze offers dirt cheap bucket storage and allows for 10GB up upload a day before they charge. If you need to download directly from the bucket you get 1GB before you are charged. Class B Transactions are free for the first 2,500. And finally, Class C Transactions are free for the first 2,500. The best part is all those limits are daily.
This is what Backblaze’s caps look like on the date of writing:
Cloudflare to Proxy
Next, I decided to use Cloudflare to proxy my traffic. Since Cloudflare will cache some of the content it will reduce some of the transactions used on Backblaze and serve pages and content even faster! It was also a convenient option for me to use since I have already been using their domain and proxy services for most of my public endpoints and websites.
Setting up Backblaze
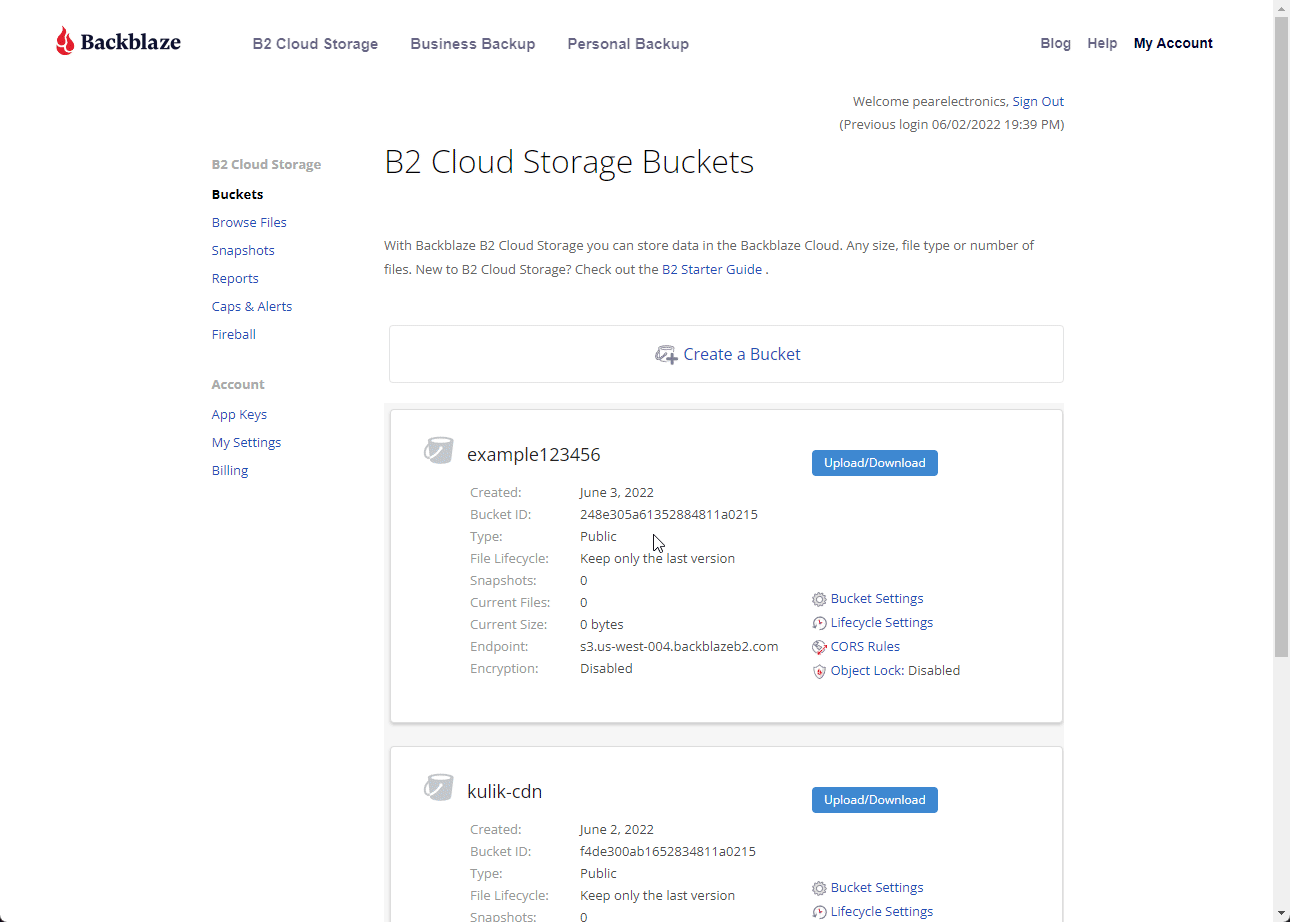
- The first step in setting up Backblaze to use bucket storage is to create an account.
- Navigate to Backblaze and choose the “B2 Cloud Storage” option at the top of the page. Then at the top right, click “Sign Up”.

- Once you have a verified account you can now create your first bucket.
- Once the Bucket has been created you’ll need to adjust some more settings. First choose “Lifecycle Settings” and chooose “Keep only the last version of the file”.
Setting up Backblaze
1) The first step in setting up Backblaze to use bucket storage is to create an account.
2) Navigate to Backblaze and choose the "B2 Cloud Storage" option at the top of the page. Then at the top right, click "Sign Up".
3) Once you have a verified account you can now create your first bucket.
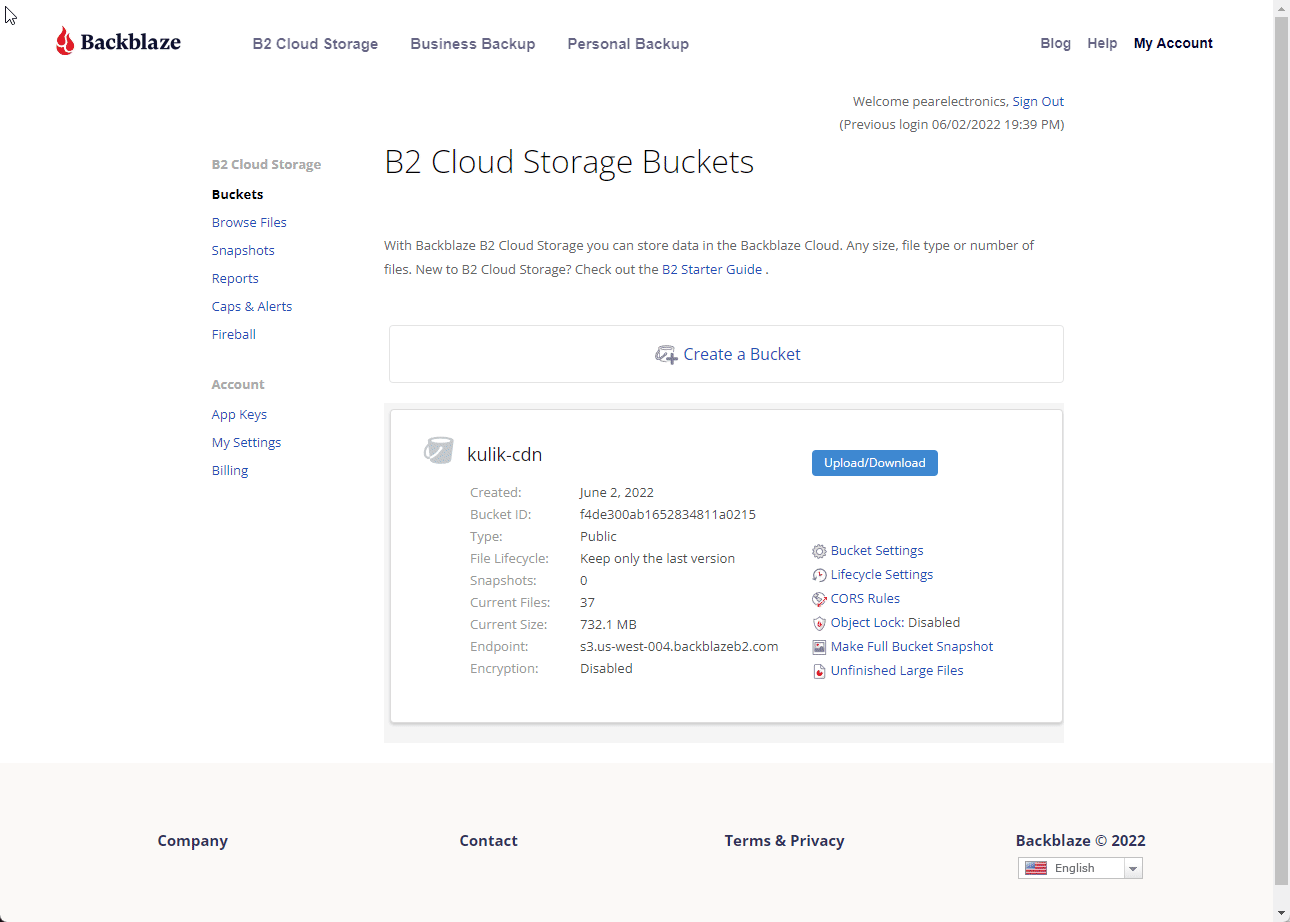
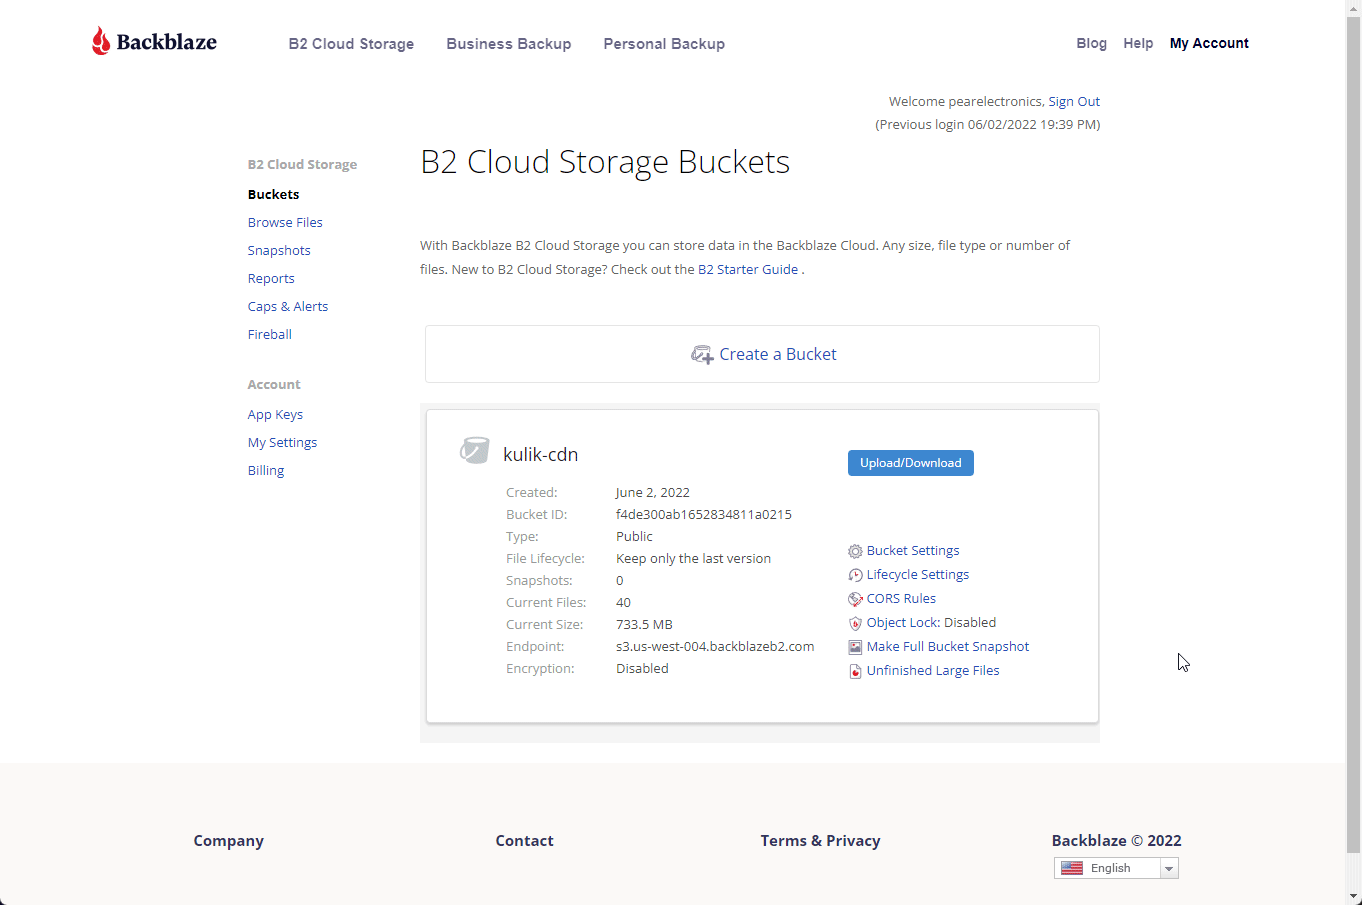
Make sure you choose "Public", "Disbale", "Disable" respectively.
4) Once the Bucket has been created you'll need to adjust some more settings. First choose "Lifecycle Settings" and chooose "Keep only the last version of the file".
Now click the big "Update Bucket" button. Now, for the Last setting.
5) In the same area you will need to click on the "CORS Rules" option and set it to "Share everything in this bucket with every origin".
6) Now that your bucket is setup you could start creating directories or uploading files. For the purpose of this walkthough I will be uploading a single file called "test.jpg".
7) Once you have a test file uploaded, you need to browse to it's location and view it's information so we can get the public "Friendly URL" your bucket is using. This will be used to configure Cloudflare later. Save the domain name.
Setting up Cloudflare
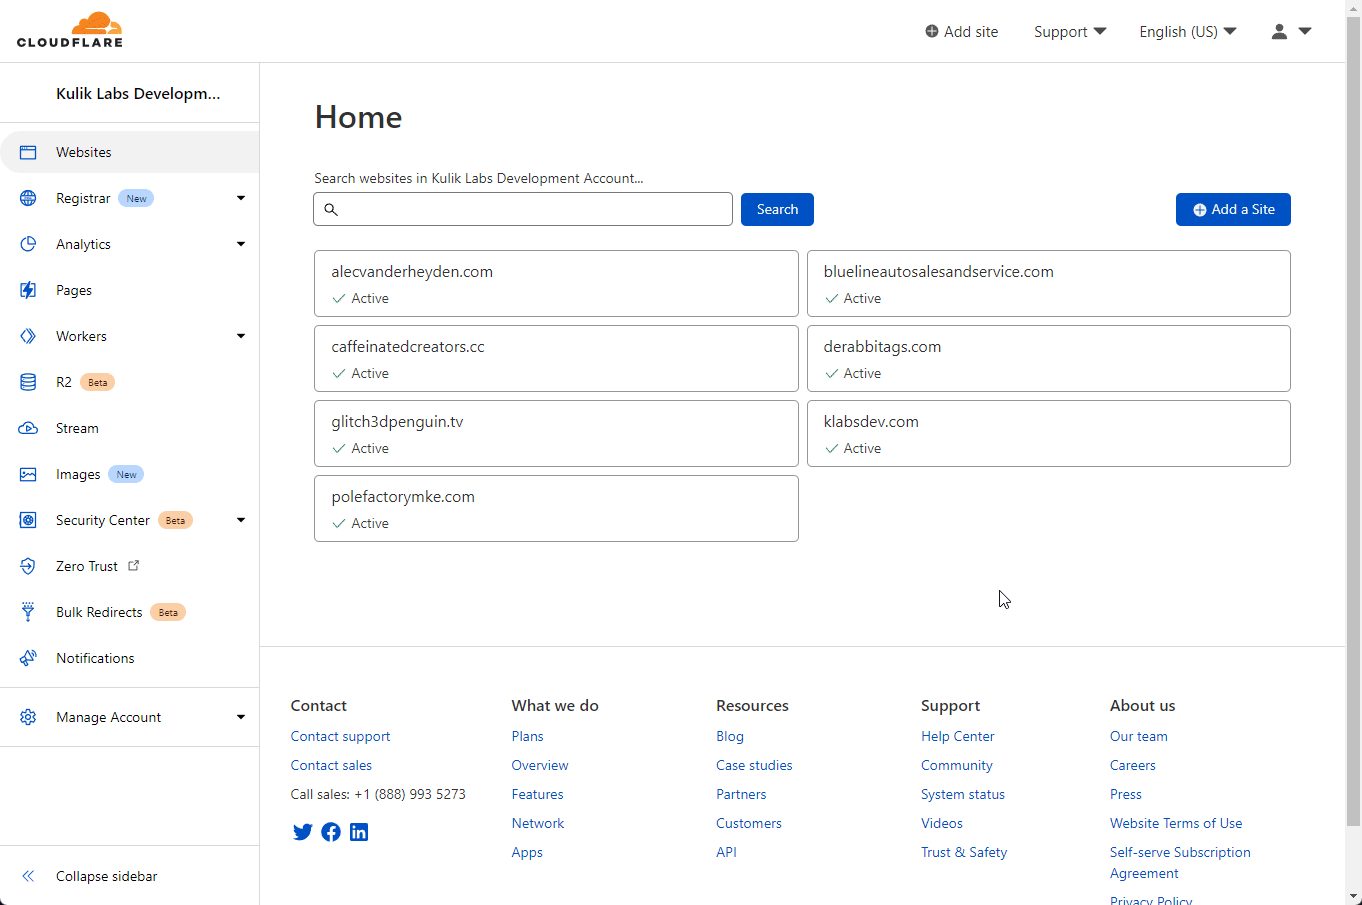
1) Now to configure Cloudflare to use a CNAME record to point to your public bucket. You'll need to already have your domain added to Cloudflare. That is out of the scope of this walkthrough so I will not be covering it here.
2) You'll want to choose the domain name that you want to have your cnd subdomain added to. Once there choose "DNS" from the left menu.
3) You will click "Add Record". Choose "CNAME" for the type. Type "cdn" for the Name. The target needs to be to the link that we saved earlier.
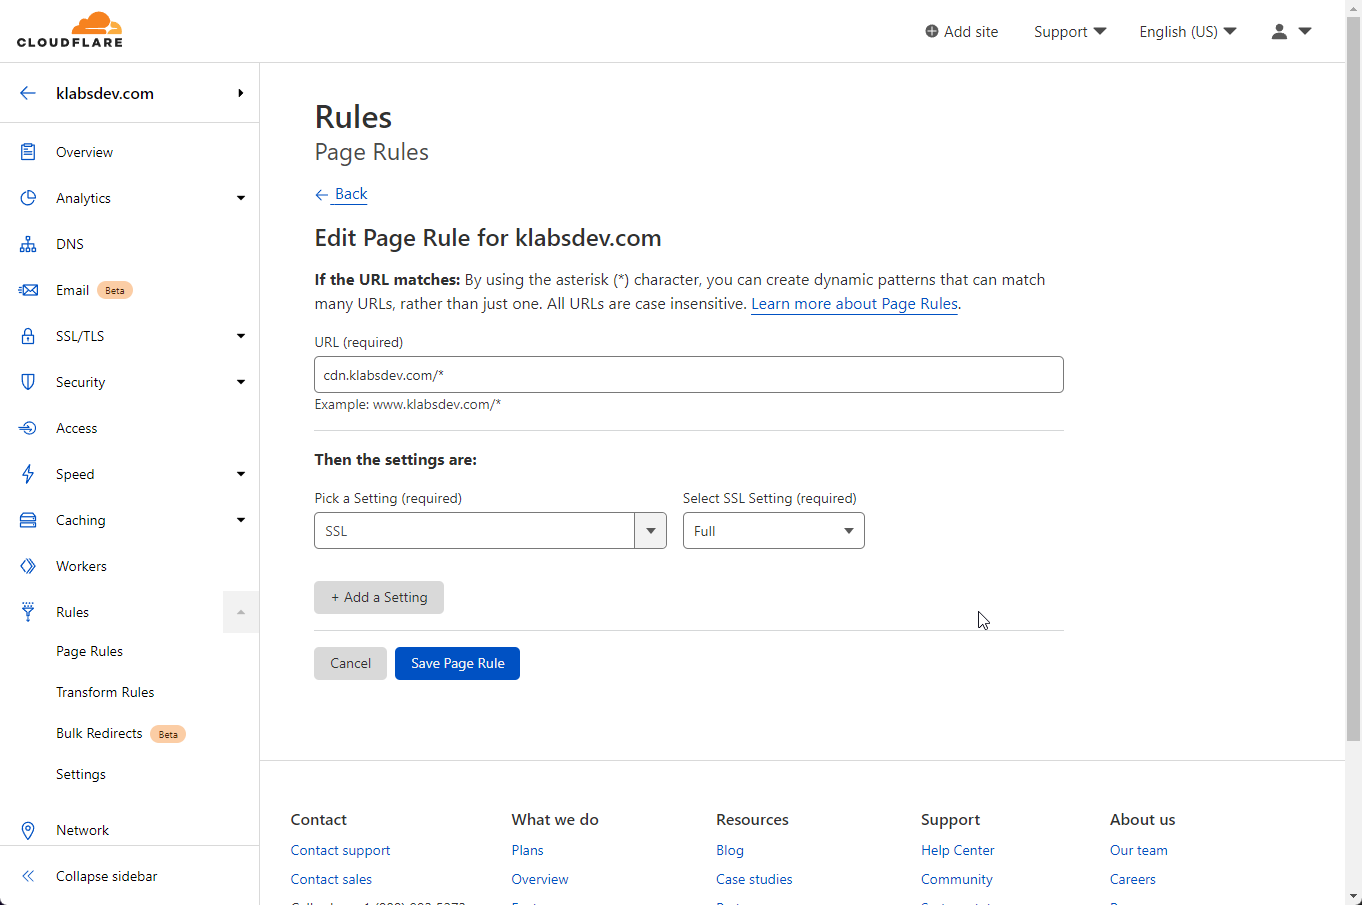
4) The last step is to create a Cloudflare Page Rule to force full SSL. Without this page rule your CDN will not work. Navigate to the "Rule" tab on the left menu and then nacigate to "Page Rules". You'll need to mimic the screenshot below with your own domain name exacly as shown.
4) You should now be able to see your test image you uploaded by visiting https://cdn.yourdomain.com/file/yourbucketname/test.jpg
Conclusion
There are many ways to go about building out your CDN. Different options all have their advantages and disadvantages. The goal of this project was to create the cheapest personal CDN possible. If anything is not working or you need help feel free to hit me up on Discord Glitch3dPenguin#8857 or Twitter @Glitch3dPenguin.
Thanks for reading!
Written By: Max Kulik